Window Tinting Tools and Equipment: The Starter List
The tools in a tinting kit do four jobs: they clean the glass, cut the film, shape the film to the glass, and push water out from under it. If you keep those four jobs in mind, it’s easy to see what you need on day one and what can wait.
This list covers each tool, what it’s for, and the common mistakes to avoid. Our instructor Alex shows the core tools in our free tools lesson, including the cheaper look-alikes to avoid.
Starter kit vs professional kit
| Job | Starter kit | Add later (professional kit) |
|---|---|---|
| Cleaning | Scraper, stainless blades, spray bottle, paper towel | Extra scrapers, a pressurised sprayer |
| Cutting | Stainless steel knife, spare blades, tape measure | Plotter and pattern software |
| Shaping | Heat gun, hard card | Extra hard cards in different stiffnesses |
| Installing | Rubber squeegee, larger squeegee, contour squeegee, foot tool, slip solution | Bulldozer, corner tools |
The professional additions mostly save time or reach awkward spots, so buy them once you know which jobs slow you down. You don’t need a workshop, a film rack or a plotter to start. A clean garage, the starter kit and a roll of film are enough to learn on.
The tools, one by one
Squeegees
Squeegees push the slip solution out from under the film and lock it to the glass. You’ll use several shapes:
- Rubber squeegee: for working on the inside of the glass and on smaller windows.
- Larger squeegee: for big windows. In the tools lesson, Alex uses a Blue Max squeegee for these.
- Contour squeegees: shaped edges for tight spots such as quarter windows.
- Bulldozer: a long-handled squeegee for cleaning the glass and squeegeeing out water, especially on sedans and coupes.
- Corner tool (the Conqueror style): a soft squeegee blade along one edge and pointed hard-card tips at each end, for pushing water out of corners and tucking film into seals.
The common mistake: buying a cheap kit of squeegees that look right but aren’t. Alex’s tools lesson points out the look-alikes to avoid. Hard cards and card-style squeegees from Australian suppliers cost around $4 to $7 each, and rubber squeegees around $9 to $15, so buying a few good ones doesn’t cost much more.
Hard card
A hard card is a stiff plastic card. It locks the film in place while you work and smooths the film down while you heat shrink it to curved glass.
The common mistake: using a single card for everything. Cards come in different stiffnesses, from soft flex cards to hard-edged ones, and it helps to have more than one.
Knife and blades
You cut patterns with a stainless steel tinting knife, which won’t scratch the glass, and you’ll go through a lot of blades. A ten-pack of stainless steel replacement blades costs around $9 from an Australian supplier.
Heat gun
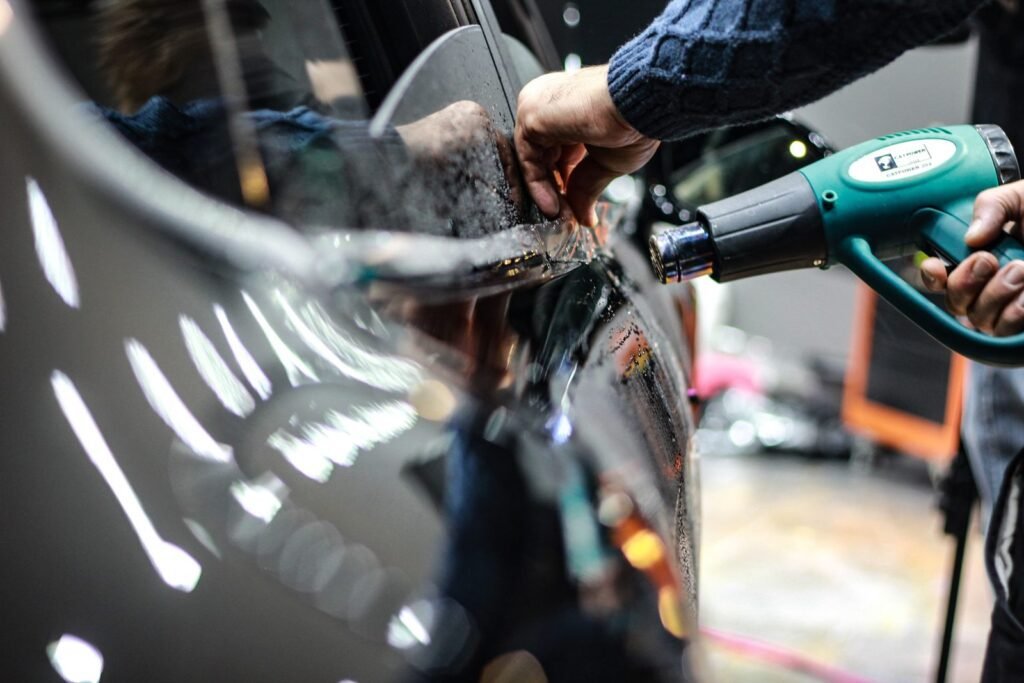
Flat film won’t sit flat on curved glass, so you use a heat gun to shrink it to shape on the outside of the window before you install it. You’ll need it for rear windows and for curved door glass. Used gently, it also softens old adhesive when you remove tint.
The common mistake: holding the gun still. Pass it over the film quickly and keep it moving, and never hold it on one spot for more than a few seconds. Keep the heat off rubber seals and plastic trim.
Spray bottles and slip solution
Slip solution is water with a little baby shampoo or detergent. It lets you slide the film into position before you squeegee the water out. A 950 ml trigger spray bottle costs around $13 from an Australian supplier, and it’s worth having two: one for cleaning and one for installing.
The common mistake: letting the film or glass dry out before the film is in position. Keep both wet until the film is exactly where you want it.
Scrapers
A scraper with a stainless steel blade does most of the cleaning. Spray the glass with soapy water first, then run it at an angle across the whole window to lift particles that a cloth misses and the eye can’t see. Blades that aren’t stainless steel can damage the glass.
The common mistake: scraping a rear window. One careless scrape across the demister lines can damage them permanently, so keep the scraper on the side windows.
Foot tool (tuck tool)
A foot tool opens the gasket at the bottom of a door window so you can tuck the film down behind the door panel. You need it for the top-loading method on door glass, and Alex also uses it to push water and dirt down the glass when he cleans. Plastic tuck tools for tucking film into seals cost around $5 to $10 from Australian suppliers.
Lint-free towels and paper towel
Paper towel soaks up the extra slip solution around the edges of the film, and it’s what Alex runs down the inside of the door panel when he cleans. A soft microfibre towel is good for drying.
The common mistake: using fluffy cloths near the glass. 3M lists fibres, alongside dirt, debris and hair, as contamination under film.
Tape measure
You measure each window before you cut film off the roll, so a tape measure saves film. Alex starts the rear window lesson by measuring the glass.
Film
Film comes on rolls. One Australian supplier sells its film in widths of 0.5 m, 0.76 m, 1 m and 1.52 m, in lengths from 6 m to 30 m. Check that the roll is wide enough for the largest window you plan to tint. The film matters as well as the tools: our guide to window tint film types compares dyed, metallised, carbon and ceramic film.
Plotter and pre-cut kits (optional pro gear)
A plotter is a computer-controlled cutter. Pattern software sends it the shape of each window for a particular car, and it cuts the film for you. One such program, for example, has more than 10,000 vehicle templates.
Pre-cut kits are film that has already been cut to fit a specific car, so you skip the patterning step. Both can save time once you’re tinting often, but neither replaces knowing how to cut a pattern by hand, which is what you fall back on when a car or a piece doesn’t match the template.
A clean, enclosed space and good light
Work in a clean, dust-free, well-lit garage or other enclosed space. Wind carries dust onto wet film, and good light helps you spot dust before the film goes on. Dust trapped under the film is the fault customers notice and complain about.
Looking after your kit
Good tools only stay good if you look after them. A few habits make a real difference:
- Store film flat and out of the sun. 3M’s product bulletin for one of its car films says to keep rolls in their original packaging, lying horizontally, away from direct sunlight and with nothing heavy on top. It recommends a stable room temperature and warns against extremes, so a hot car boot or a tin shed in summer isn’t the place for it.
- Keep squeegees and hard cards clean. Wipe them after every job and store them so their edges stay straight and clean.
- Keep used blades contained. A blade snap and storage box, sold by an Australian tint supplier for around $6, gives you somewhere safe to break off and keep used blades instead of leaving them loose in your kit.
- Keep a spray bottle just for slip solution. Rinse and refill it with fresh solution rather than topping up an old mix that has been sitting in a hot car.
- Protect the car. Lay a towel over the door trim and keep water away from the window switches and speakers while you work.
What a starter kit costs
Prices from Australian suppliers’ websites, checked 12 October 2026:
- Tint tool kits from specialist suppliers: around $100 for a starter kit, rising to around $220 for the larger professional kits.
- Hard cards and card-style squeegees: around $4 to $7 each. Rubber squeegees are around $9 to $15, and turbo squeegees around $11 to $15.
- Stainless steel replacement blades: around $9 for a ten-pack.
- Trigger spray bottle (950 ml): around $13.
- Plastic tuck tool: around $5 to $10.
Very cheap kits exist too, some for around $20 to $30. Check what’s in them before you buy: a kit full of the wrong shapes is no saving.
Where to go from here
Once you have the kit, our step-by-step guide to how to tint car windows shows where each tool comes in, from cleaning to the final squeegee. If you’re thinking about tinting for paying customers, our guide on how to start a window tinting business in Australia covers the business side.
Our online course starts with the tool kit and then works through every window of a car. You can see the full lesson list before you decide.
Sources
- Oz Sign Supplies, window tint tools (kits, squeegees, cards and tuck tools), checked 12 October 2026.
- Polyfilm Australia, tint tools (kits, blades, spray bottles, tuck tools, hard cards and blade boxes), checked 12 October 2026.
- Polyfilm Australia, window tint film rolls (roll widths and lengths), checked 12 October 2026.
Want to learn to tint properly?
Our online course is $129.95 AUD, with lifetime access and a certificate after a video assessment. Every window of a car, step by step, taught by our instructor Alex.
Enrol now – $129.95 AUDOne payment · Lifetime access · 7-day refund