How to Remove Window Tint (and the Adhesive Left Behind)
Old tint doesn’t always come off in one clean pull. By the time it needs replacing, it has spent a long time in the sun, and sun exposure breaks down both the film and the adhesive holding it to the glass. Removing tint is mostly about getting that adhesive soft enough to let go of the glass, then cleaning off whatever it leaves behind.
This guide covers three ways to do it at home, how to peel and how to deal with the glue, the extra care the rear window needs, and when it makes more sense to hand the car to a shop.
Why old tint fails
Sun is what wears tint out. Old film usually shows one or more of these signs:
- Purple or faded film. Tint turns purple when the dye that gives it its dark colour breaks down in the sun. Lower-quality dyed film is prone to fading and discolouring.
- Bubbles. The adhesive slowly breaks down in the sun and lets parts of the film lift off the glass, which gives it a bubbly or wavy look.
- Peeling edges. When the adhesive fails along the edges, the film lifts and peels away from the window.
- Cracking. Film can turn brittle in the sun and start to crack. Brittle film is hard to remove, because it breaks instead of peeling.
Some people also remove tint because it’s darker than their state allows, or simply because they want a better film. Whatever the reason, the steps are the same.
What you need
- A heat source: a clothes steamer, a heat gun, or a hot sunny day and some black plastic bags.
- Spray bottles of soapy water: water with a little baby shampoo or dishwashing liquid.
- A scraper and fresh stainless steel blades: blades that aren’t stainless steel can damage the glass.
- Plastic sheeting or cling wrap: to keep the film and glue wet while they soften.
- Paper towel and lint-free cloths.
- Rubber gloves and safety glasses: essential if you use ammonia or an adhesive remover.
- Old towels or plastic: to keep water and chemicals off the door trim, speakers and switches.
- Rubbish bags for the old film.
Most of these are the same tools you’d use to fit new film. Our window tinting tools and equipment guide covers each one in more detail.
Three ways to remove window tint
All three methods work on the same principle: warm or soak the adhesive until it lets go of the glass, then peel. Heat softens the adhesive and reduces the force you need to pull the film away. Choose the method that suits your tools and the weather.
Whichever you choose, be gentle with heat. 3M’s removal guide for its graphic films warns against heat removal on glass, because heating can break the glass. If you use a steamer or heat gun, warm the glass gradually, keep the heat moving and never concentrate it on one spot. Don’t heat glass that’s chipped or cracked, and let heated glass cool before you spray it with cold water. Sudden temperature changes put glass under stress and can turn a chip into a crack.
Method 1: a clothes steamer
A portable steamer, the kind sold for taking creases out of clothes, is a gentle way to warm old tint. Hold the steam close to one corner of the film until the adhesive softens, lift the corner with a fingernail (or, on a side window, a stainless blade), then peel slowly while you keep steaming just ahead of the peel line.
Steam is also how professionals soften adhesive on rear windows instead of scraping, which is why this method suits the whole car. Take care with hot steam inside a closed cabin: open the doors and keep it away from your hands. Don’t rush the peel either. Pull too fast and the film tears, and you have to start again from a new edge.
Method 2: a heat gun, with a helper
A heat gun does the same job with dry heat, and it needs more care. Two people make it much easier: one holds the gun and the other peels.
Set the gun low and keep it moving. Warm one corner until the film softens, then lift it. As you peel, your helper keeps warming the strip of film just ahead of your hands, never holding the gun on one spot for more than a few seconds. Keep the heat off rubber seals and interior trim, and if the glass starts to feel very hot, stop and let it cool before you carry on.
Method 3: sun, ammonia and black plastic
This method lets the sun do the heating. You need a hot, sunny day, a couple of black garbage bags per window and household ammonia.
- Cut two pieces of black garbage bag a little larger than the window.
- Spray the outside of the glass with soapy water and smooth one piece of bag onto it. The water holds it in place.
- Cover the door trim, speaker and switches inside the car with plastic or old towels.
- Spray the inside of the window, the side with the film, with ammonia, and cover it straight away with the second piece of bag so it stays wet.
- Park with that window in full sun and leave it for about an hour, with another door or window open so the fumes can escape. The sun warms the glass through the black plastic while the ammonia soaks into the film. Air the car out before you work inside it.
- Take off the inner bag, lift a corner of the film and peel it slowly.
If you’d rather not use ammonia at all, 3M’s removal guide for its decorative films on glass uses the same idea with soapy water. Wet the film thoroughly, cover it with plastic sheeting so the water soaks into the adhesive instead of drying out, wait two to four hours, then peel slowly from one edge. It’s slower, but it uses nothing harsher than detergent.
Peeling: one sheet or strips
Try for one sheet first. Lift a corner, then pull slowly and steadily. A slow, even pull tears the film less and leaves more of the adhesive on the film instead of on the glass.
If the film keeps tearing on a side window, or the window is too big to manage in one piece, cut the film into smaller sections with a stainless steel blade and peel them one at a time. 3M suggests the same for its decorative films on glass. Never cut film this way on a window with demister lines, because the blade would cut across them.
Very old, brittle film may break into flakes however slowly you go. Once film is too brittle to peel, the only option left is to scrape it away. That’s slow but manageable on side windows. On the rear window, scraping is likely to destroy the demister lines, so don’t scrape there: read the section below before you start.
Getting the adhesive off
Sometimes the film comes away and leaves a layer of glue on the glass. Don’t scrape it dry. Soften it first:
- Soak it. Spray the glue generously with soapy water and cover it with plastic sheeting or cling wrap so it stays wet while it softens.
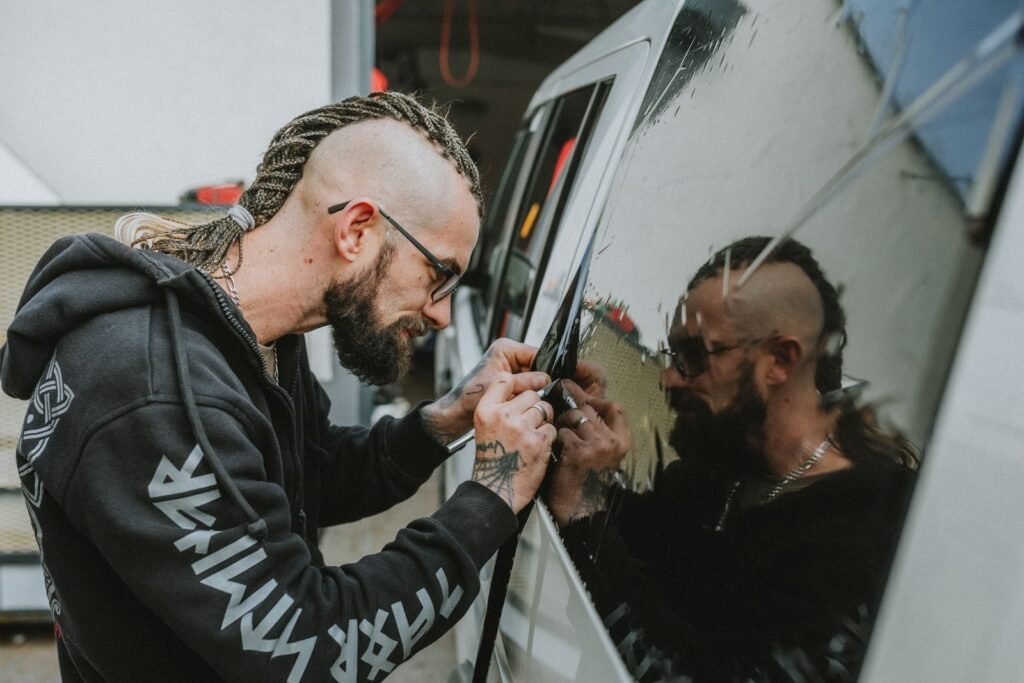
- On side windows, lift it with a fresh stainless steel blade. Keep the glass wet, hold the scraper at an angle and push the softened glue off in short strokes, wiping the blade on paper towel as you go. Change blades often, and never use a blade that isn’t stainless steel. Don’t use a blade on a window with demister lines (see the rear window section below).
- Use an adhesive remover on what’s left. A remover made for window film adhesive can soften stubborn residue. Test it on a small, hidden spot first, cover the door trim, and keep it off paint and rubber seals, because some removers can damage a car’s interior. Wear gloves, work with the doors open and follow the label. If the label says it’s flammable, keep it well away from the heat gun.
- Wash the glass. Finish with soapy water and paper towel until the glass is completely clear.
Factory-tinted glass
Some cars come with dark rear glass from the factory. That colour is in the glass itself, put there by the car maker, not in a film on top of it. If a window still looks dark once the film and glue are gone, there’s nothing more to remove, so stop scraping. Treat factory-tinted glass like any other car glass: soapy water, no abrasives, and a stainless steel blade only on windows without demister lines.
The rear window and demister lines
The rear window needs the most care because of the demister lines, the thin heating lines that clear fog from the glass. They sit under the old film, and one careless scrape with a sharp blade can damage them permanently.
Steaming the adhesive rather than scraping it is how professionals protect the lines. Even then, old film or cheap adhesive can bond to the lines so strongly that it’s nearly impossible to remove without damage. If the film won’t release under steam, stop there. That’s the point where a shop is worth paying.
Cleaning the glass for new tint
Any dust or specks left on the glass will show under new film, and they won’t go away once the film is on. Once the residue is gone, clean each window the way you would before any install: soapy water, a scraper on the side windows only, and paper towel down the inside of the door panel. Our guide on how to tint car windows walks through that cleaning process and the install itself.
Before you buy the new film, check the rules for your state. In every state and territory, front side windows must let through at least 35% of light, and the limits for the rear windows vary. Our window tint laws guide has the details.
When to pay a shop instead
Doing it yourself costs little more than time and a few supplies. A shop is the better choice when:
- the film is so brittle it comes off in flakes;
- the rear window has demister lines and the film won’t release under steam;
- you’re having new tint fitted anyway and would rather the installer handle the whole job;
- you don’t have a safe, ventilated place to work with ammonia or heat.
Our window tinting cost guide covers what removal adds to the price of a job.
Getting rid of the old film
Old tint is a thin sheet of film with adhesive on one side. As it comes off, fold it sticky side in so it doesn’t pick up grit or stick to the car, then bag it with the used paper towel. Wrap used blades in tape or put them in a sealed container before they go in the bin, so nobody gets cut emptying it. The bag goes in your general waste, unless your council tells you otherwise.
Once the glass is clean and dry, the car is ready for new film.
Want to learn to tint properly?
Our online course is $129.95 AUD, with lifetime access and a certificate after a video assessment. Every window of a car, step by step, taught by our instructor Alex.
Enrol now – $129.95 AUDOne payment · Lifetime access · 7-day refund